How to Get Your API Token

Follow this comprehensive guide to obtain your API token and integrate NebulaAPI into your projects.

1

Login to NebulaAPI

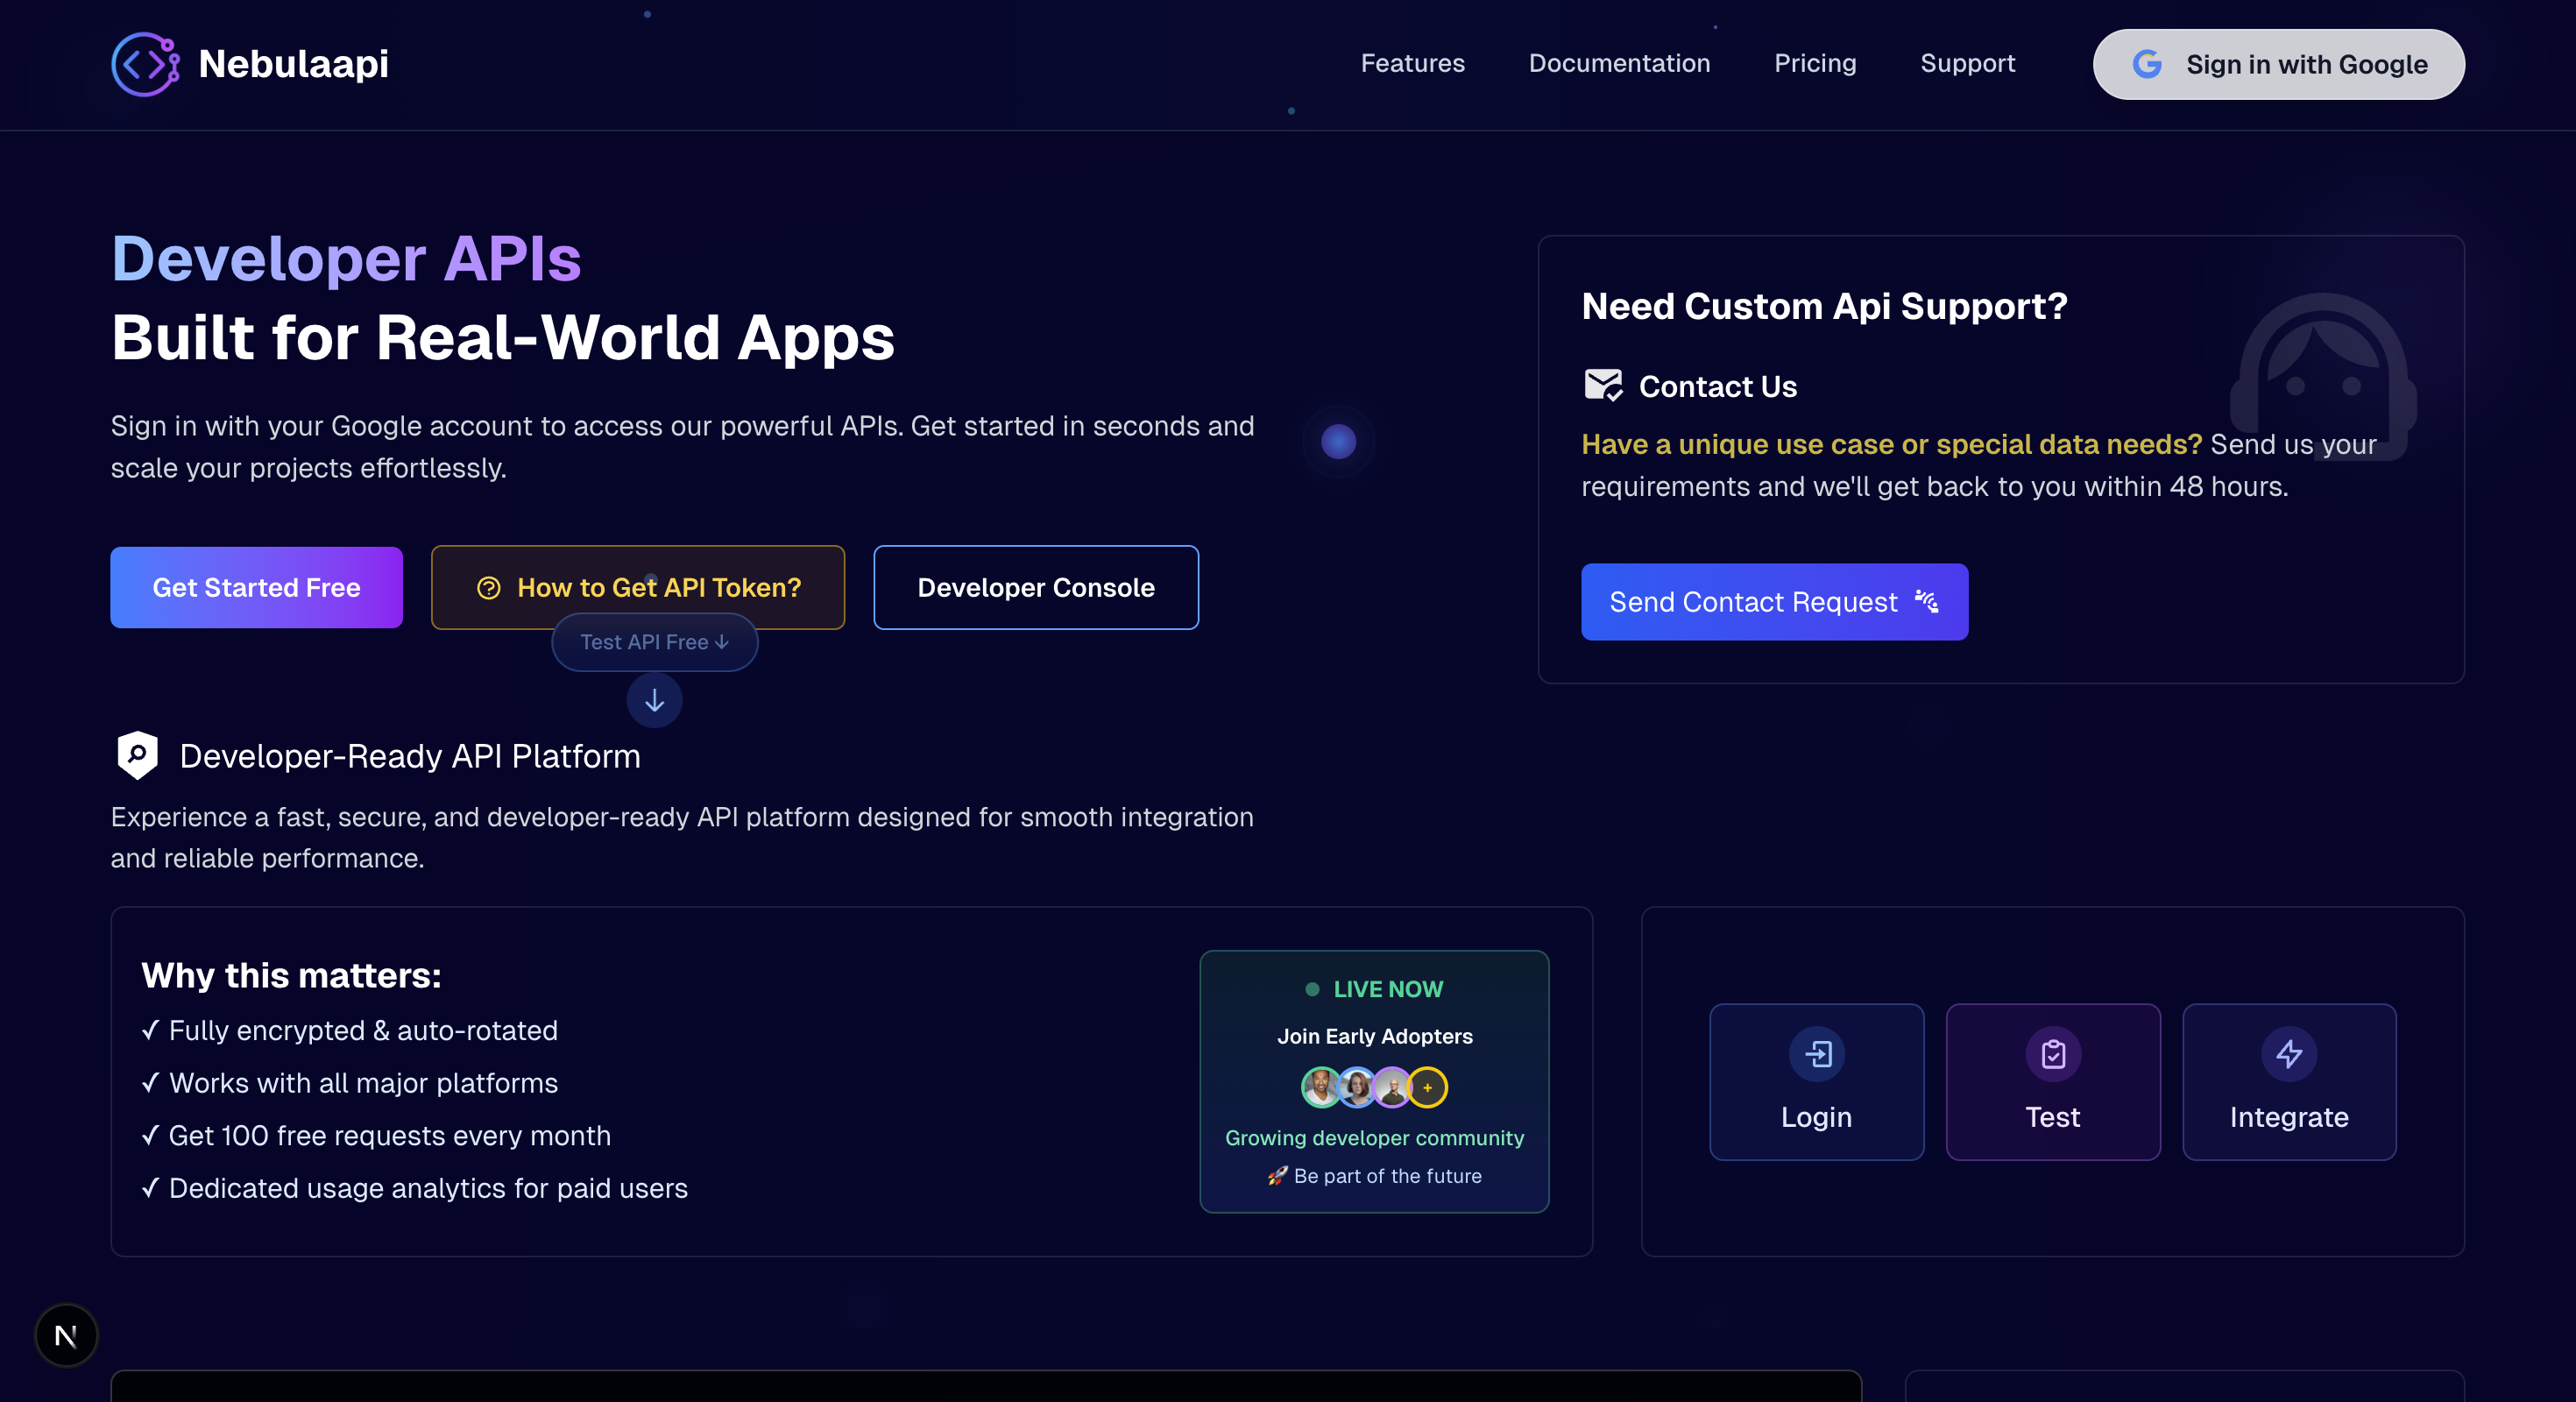
Start by signing in to your NebulaAPI account using your Google account. Click the "Get Started Free" button on the homepage to authenticate.

Login page with Google Sign-in button
💡 Tip: Use a valid Google account for authentication. This will be your primary account for accessing NebulaAPI services.
2

Explore and Test APIs

Once logged in, you can explore available APIs and test them directly within the NebulaAPI application. This allows you to understand the API functionality before integrating it into your project.

API testing interface in NebulaAPI dashboard

Important: To use these APIs in your own projects, you need to purchase a plan from the pricing section.

â„šī¸ Note: Currently, the pricing section is only available for Indian users. International support coming soon!
3

Select and Purchase a Plan

Navigate to the Pricing section and select a plan that fits your needs. After successful payment, you'll receive an email with your console access credentials.

Pricing plans page

What you'll receive:

  • ✓Email with console access credentials (email and temporary password)
  • ✓Instructions to access the NebulaAPI console
  • ✓Plan details and API usage limits
📧 Check your inbox: The credentials email will arrive within a few minutes after successful payment.
4

Access Console & Set Password

Use the email and temporary password from your inbox to sign in to the NebulaAPI console for the first time. You'll be required to set a new password immediately.

Console login page
Password change screen
🔒 Security: Choose a strong password with at least 8 characters, including uppercase, lowercase, numbers, and special characters.
5

Generate Your API Token

After successfully logging in with your new password, you'll see the dashboard. Navigate to the "Generate API Token" section to create your unique API token.

Dashboard with API Token generation section
Your API Token:
sk_live_xxxxxxxxxxxxxxxxxxxxxxxx

Click the "Generate" button to create your token, then copy it for use in your applications.

âš ī¸ Important: Store your API token securely. Never share it publicly or commit it to version control. Treat it like a password.
6

Use Your API Token in Requests

Now you can use your API token in your applications. Below is an example cURL request that you can use in Postman or your terminal. Simply replace YOUR_API_TOKEN with your actual token.

Example cURL Request:

# Example: File Conversion API
curl -X POST \
"https://workspace.nebulaapi.com/v1/convert" \
-H "Content-Type: multipart/form-data" \
-F "api_key=YOUR_API_TOKEN" \
-F "file=@document.pdf" \
-F "format=docx"

Using in Postman:

  1. Open Postman and create a new POST request
  2. Set the URL to: https://workspace.nebulaapi.com/v1/convert
  3. Go to the "Body" tab and select "form-data"
  4. Add key api_key with your token as value
  5. Add key file and upload your file
  6. Add any additional parameters required by the API
  7. Click "Send" to make the request
📚 Documentation: Visit our API Documentation for detailed information about all available endpoints and parameters.

Quick Checklist

  • Login to NebulaAPI with your Google account
  • Explore and test APIs in the application
  • Purchase a plan from the pricing section (Indian users only)
  • Check your email for console credentials
  • Login to console and set a new password
  • Generate your API token from the dashboard
  • Copy and securely store your token
  • Use the token in your API requests

Ready to Get Started?

Sign in now and start exploring our powerful APIs!